Script Manager

Follow the below-mentioned steps to login into the LoadTest portal:

  1. Enter the following URL (http://hostname/LoadTest) at the address bar of the browser and press ENTER. The LoadTest login window is displayed.
Figure 2: Login Page
  1. Enter the Username and Password and click the Login The LoadTest – Product UI Home page is displayed as shown in Figure 3.
Figure 3: UI Home Page

3. Go to Script on the top panel and then Script Manager page opens.

Figure 4: Launch Script Manager

In script tab, user can create/record a script, manage scripts like copy, move, delete, rename, edit etc. Users can further add transactions/parameters and API in the script and can verify by putting Assertions.

Left Pane

Left pane consists of three parts:

  • Search
  • Scripts
  • Data
Figure 5: Left Pane in Script Manager

Search

Through this option, user can search the required information like project, sub project or data directory from the available scripts and data.

Figure 6: Search

Scripts

Scripts mainly consists of project, sub project, and scripts.

Figure 7: Project and Sub Project

Projects

Projects are the directory where sub projects are available. Once you select the projects in the left pane, the top 4 scripts based on of the last modification or in alphabetical order are shown in the script dashboard.

Sub-Projects

Sub-projects are directories where test assets like test suites, scripts, scenario, etc. are available. When you select a sub-project from the left pane, all the available scripts related to that sub-project are shown on the right pane.

  • Scripts– A Scriptrepresents a typical session of a web application’s user interaction. Once you click script all the files in the script are shown on the right pane as shown below figure. There are mainly 5 files that are available are- c, runlogic.c, registration.spec, init_script.c, exit.script.c.

Data

You can use the Data Directory section for data file management. If you override the data directory, the data files of all file parameters are taken from the specified directory. If no file is found, it will be taken from the data directory specified in the file parameter and then from the script directory.

Figure 8: Data

Advance Settings Option in DataDir

User has the following option in Advance Settings in Datadir:

  • Copy
  • Move
  • Version Commit
  • Version Logs
  • Download
  • Delete
  • Rename

Top Pane

Top Pane of script manager consists of the following option:

  • Create Script
  • Upload
  • Sort by
  • View by
Figure 9: Top Pane of Script Manager

Create Script

To Create a script, click the  icon to create a new script. This icon is used to create the empty script. You have the following fields to create script:

Figure 10: Create Script
  • Script Name: Enter the name of the script. Script Name is a maximum of 64 characters. The first character must be Alpha. Other characters can be Alpha, Numeric, or Underscore.
  • Project Name: Enter the project name from the dropdown. It is the test assets directory structure containing multiple sub-projects.
  • Script Type: The following types of script creation and execution are supported: 

Web C

Web Java

WebClickAndScript C

WebClickAndScript Java

  • Sub-projects: It is the directory where the empty script will be created.
  • Template: User can select template according to their need.

Upload

User can upload script, project/sub-project, and Data.

Figure 11: Upload
  • Script: For validation, check whether all necessary files are present in zip or not [preferably in typescript code]. The necessary files are:

init_script.c or init_script.java

                                                           exit_script.c or exit_script.java 

                                                          registration.spec 

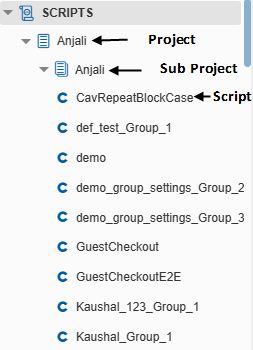
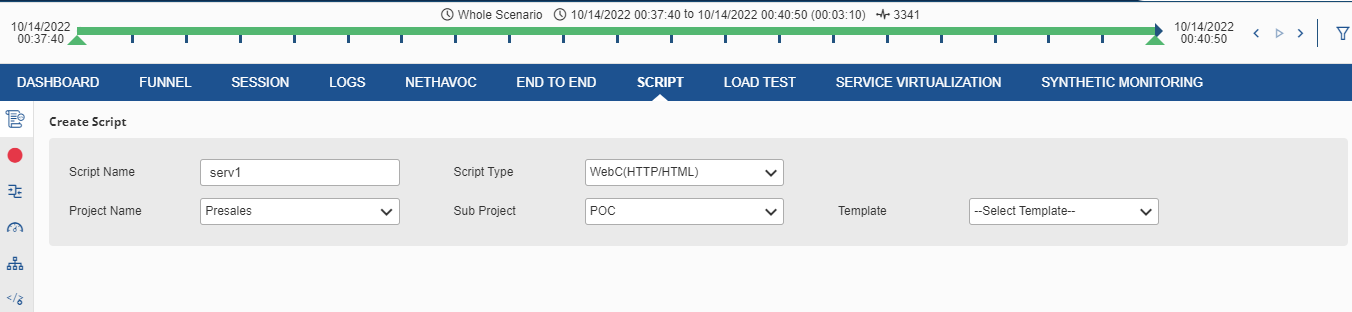
  • Project/Sub-Project: For this the required path should be  Uploadzip/tar:  $NS_WDIR/workspace/workspace name/profile/cavisson/.
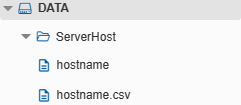
    • Data: For data, the required file should be Upload zip/tar:

    $NS_WDIR/workspace/workspaceName/profile/cavisson/data/.
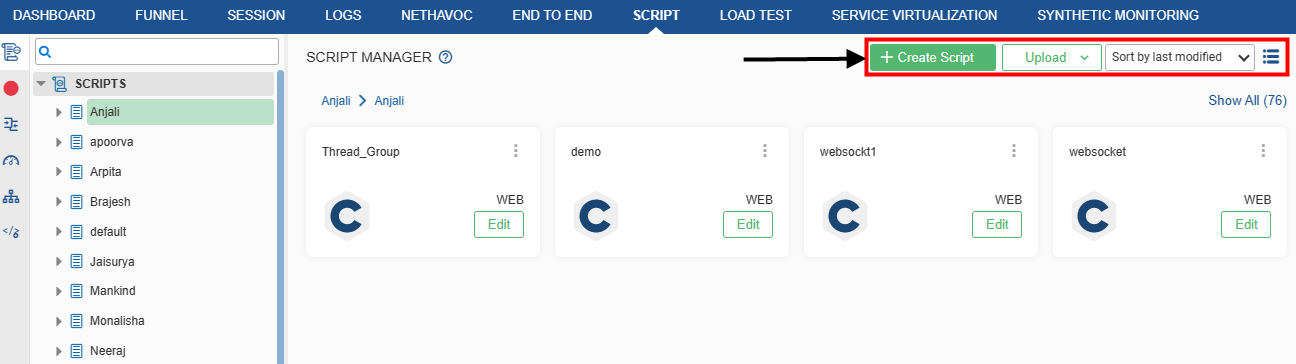
Sort by

The scripts can be sort by in the following ways:

  • The scripts can be sorted by when they were last modified.
  • The scripts can be sorted in alphabetical order or simply by sort by name.


View By

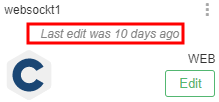
  • List view – Once you click the  icon, you can see the available scripts in list format. It shows the name and type of the script with the last date and time modified. It also shows various actions we can take for the particular script.
  • Grid View: If you click the 
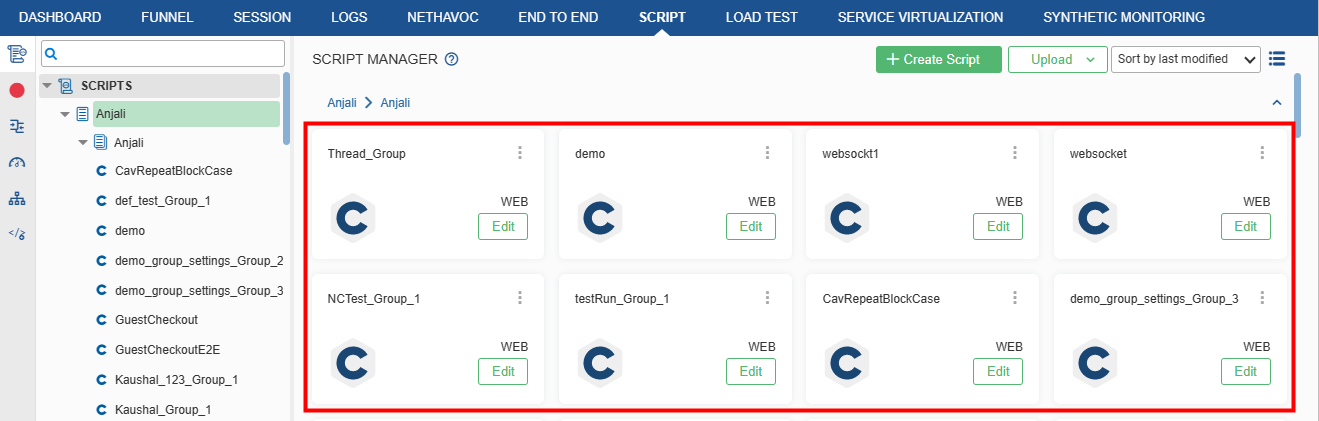
icon, the scripts will be viewed in grid view.
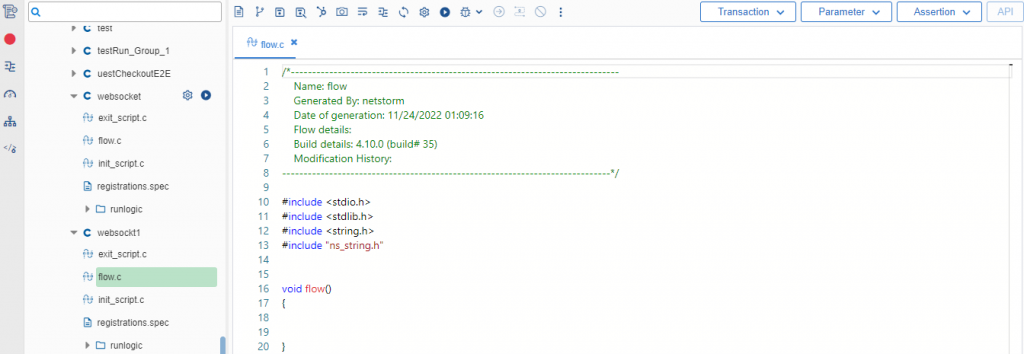
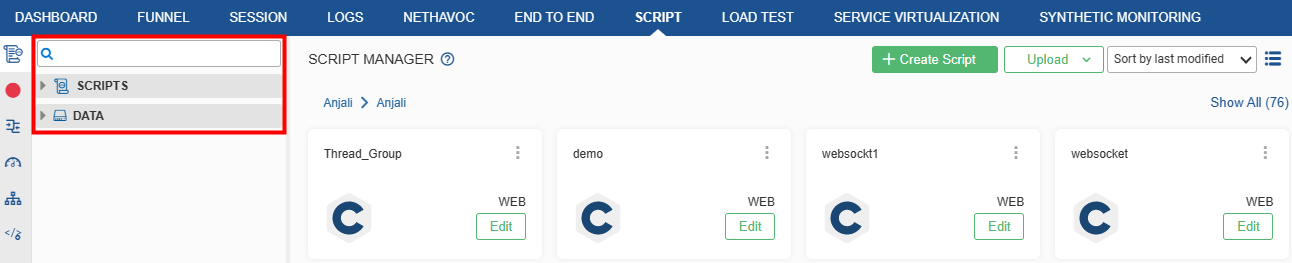
Right Pane

Right Pane mainly consists of scripts as shown in below figure:

Figure 12: Right Pane- Scripts

When user click on any project in left pane, the top 4 script will be shown in right pane as per the applied filter. When user click on any sub project in left pane, then all available scripts will be shown. When user click on any script in left pane, then it’s all file will be shown in right pane.

By selecting one of the scripts you get the following option:

Language Icon

Icon shows the type of language used i.e, whether it is C type or Java type.

Figure 13: Language type

Script Type

As shown in below figure, the script shows the type used, i.e., whether it is Web type or RBU, etc.

Figure 14: Script Type

Edit

Once you click Edit button, the selected script will open in the script editor.

Figure 15: Edit Icon

For details of script Editor, refer to Chapter-3 Script Editor.
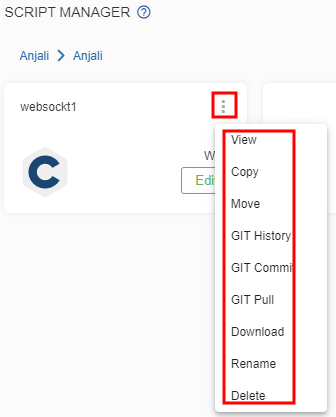
Kebab Menu

Click on the kebab menu  icon on the script. You can find the following details:

Figure 16: Kebab Menu Options
  • View- By this option, you can open the script in the script editor in read only mode.
  • Copy– Users can copy any script from one to another project/subproject or in the same project.
  • Move- After moving any script, the same script will not be available in the source project/subprojects.
  • GIT History- This will show all the changes committed till now in a local repository.
  • GIT Commit- This is used to commit the changes to a local repository.
  • GIT Pull-It is used to pull the latest commits from the remote server to the local repository. By refreshing scenarios/scripts, all the recently committed files on the master repository are fetched to the scenarios/scripts directory of the local repository.
  • Download- Users can download any script with the help of the download option.
  • Rename- Users can rename the script name with the help of Rename Clicking on the rename option a popup window will appear on the same screen with a new script name input option
  • Delete- Users can delete any script with the help of the delete option. After clicking on the delete option a confirmation message will appear on the same window to confirm delete or not.
  • Each script will show when it was last edited as shown in below figure.
Figure 17: Script Edit time

Once you click the Edit button of a Script, the Script Editor page opens as shown in below figure.

Figure 18: Script Editor Page